



Here's how to make the best wild garlic rolls: 3 easy steps
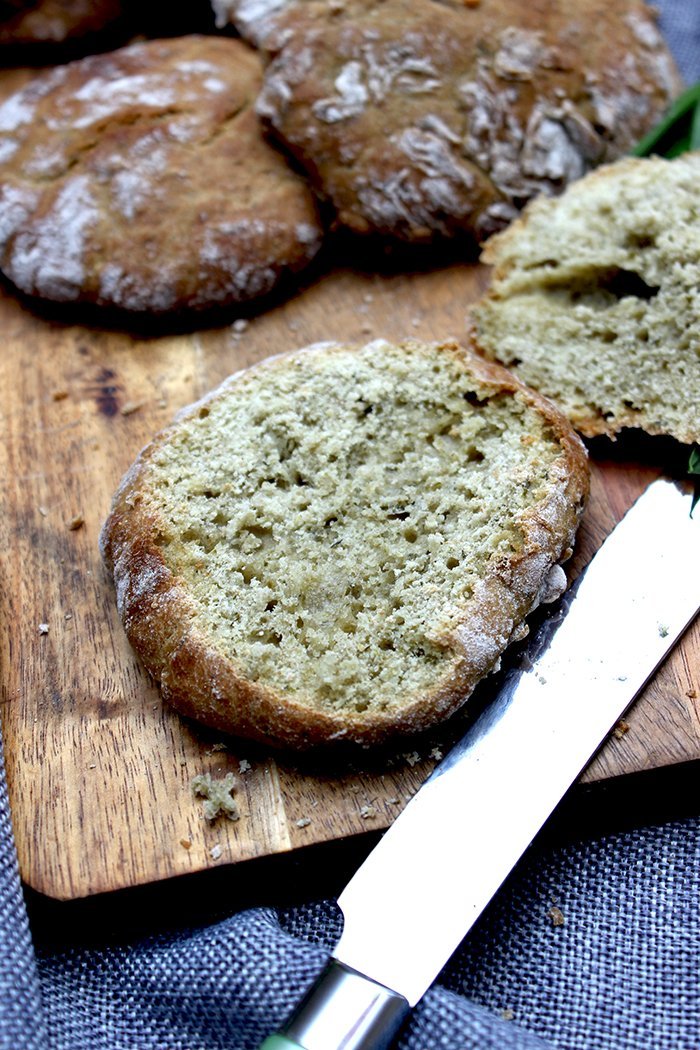
Wild garlic rolls are the perfect combination of a fluffy interior and a crispy crust, refined with the unmistakable aroma of wild garlic. They are not only a visual highlight on the breakfast table, but also impress with their savory taste.
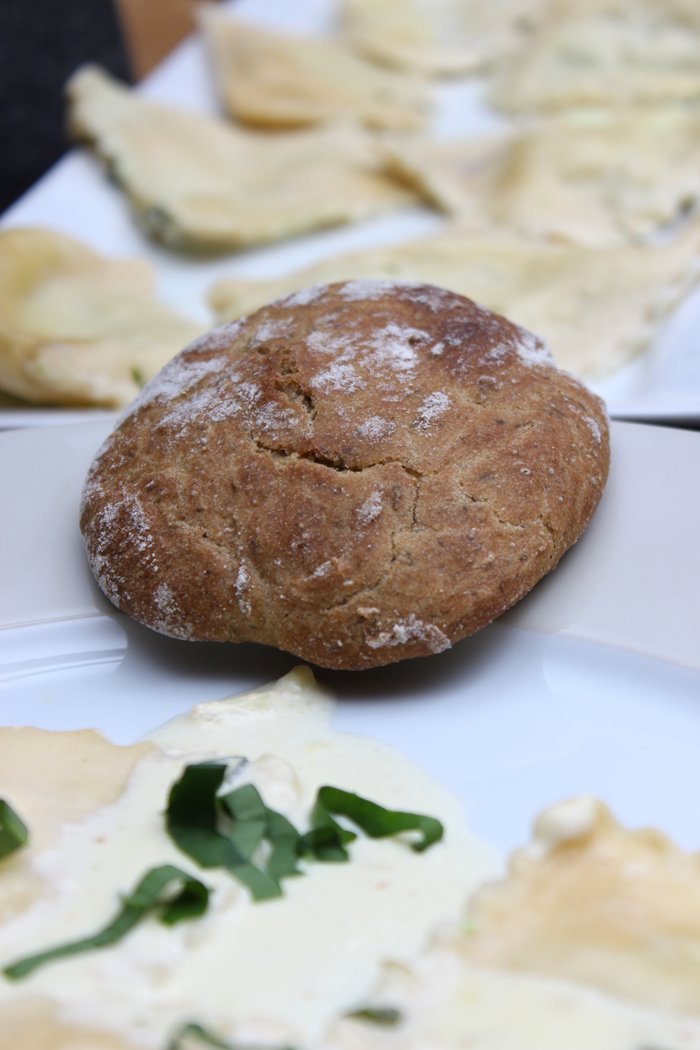
Nothing beats homemade rolls and bread. After I recently made a Wild garlic folded bread After baking some other things, I made these wild garlic rolls. They are absolutely delicious and perfect for breakfast, lunch, or dinner with family or friends. I found them especially perfect with, for example, Wild garlic ravioli with Parmesan cream sauce.
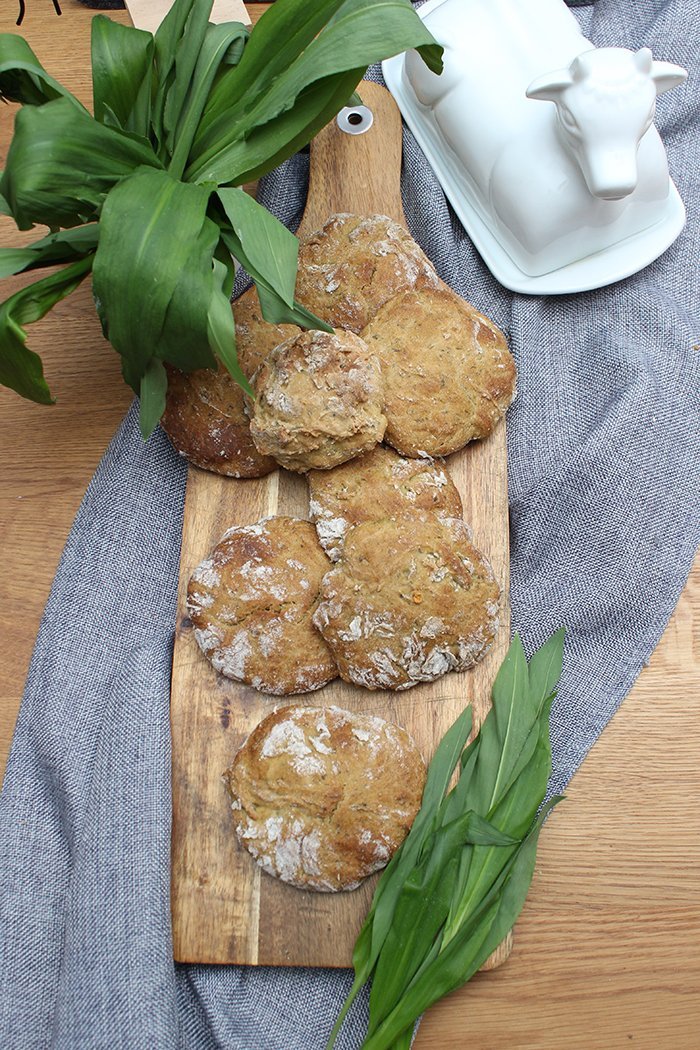
Why wild garlic rolls?
Wild garlic is known for its slightly garlicky flavor, which is milder and more delicate. This superfood is rich in vitamins and gives the rolls a special touch, making them ideal for spring or wild garlic season.
Easy to prepare
Whether for a leisurely Sunday breakfast, a picnic, or as a side dish to soups and salads, these quick and easy wild garlic rolls are incredibly versatile. A major advantage: they can easily be baked one or two days in advance and stored in an airtight container or bread bag without losing any flavor or freshness. The irresistibly crispy yet soft wild garlic rolls are a true delight, not only for the eyes but also for the palate!
These aromatic rolls with wild garlic are perfect for preparing in advance: simply bake them one or two days ahead and store them in an airtight container or bread bag to preserve their freshness and flavor. Ideal for Wild garlic lovers, breakfast recipes or as a delicious side dish to any meal!
Bear-strong wild garlic
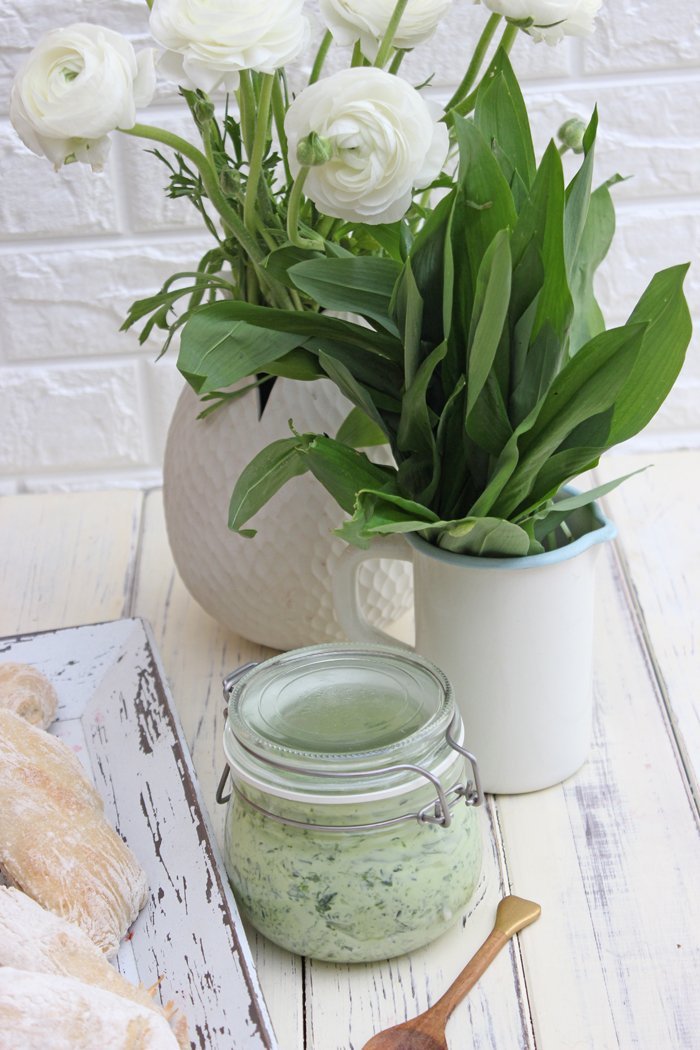
Wild garlic (Allium ursinum) is a wild herb belonging to the onion family (Allium ursinum), related to garlic, chives, and onions. Among its many other names, bear's garlic, wild garlic, wood garlic, witch's onion, and ramsons are probably the best known. This perennial bulbous plant is widespread in Europe and parts of Asia, primarily in humus-rich, moist deciduous and riparian forests in shady locations. It grows up to 30 centimeters tall and often spreads along the ground.
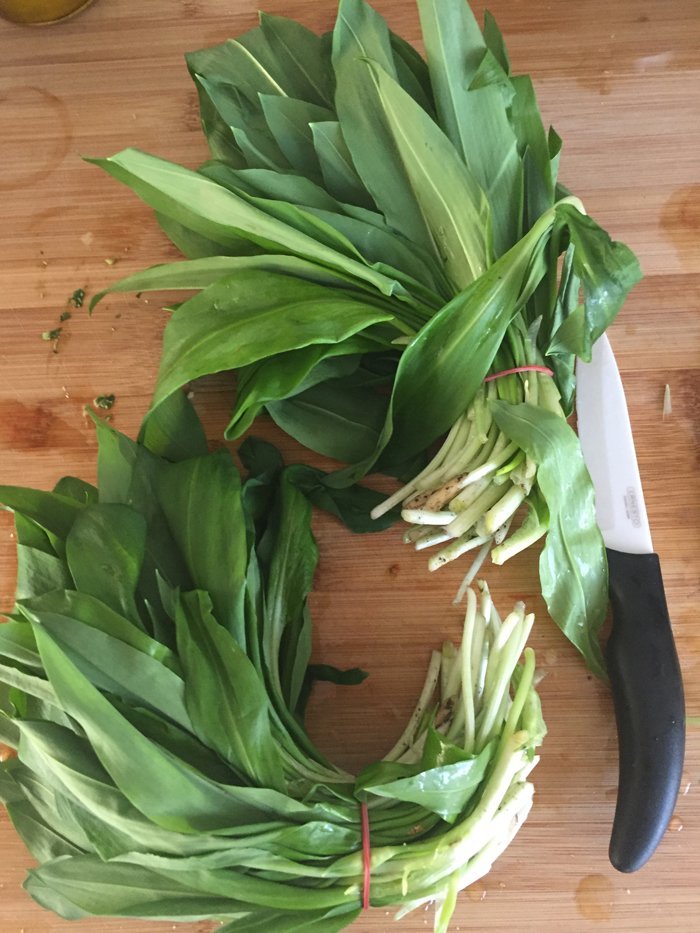
How to identify wild garlic
It has a stem five to 20 centimeters long and usually two flat, oval-lanceolate leaves per bulb, two to five centimeters wide, with smooth edges and parallel veins. The upper surface of the leaves is glossy dark green, while the underside is a slightly lighter, matte green. Initially, the flower is enclosed in a bract; the spherical umbel with its white, star-shaped individual flowers then appears from April to May.
The storage
Stored in airtight containers or freezer bags, wild garlic leaves will keep fresh in the refrigerator for 3-4 days; the bulbs a little longer. If you want to preserve the leaves, it's best to clean and chop them before infusing them in oil. The blossoms are best used freshly picked.
Enjoyment tips
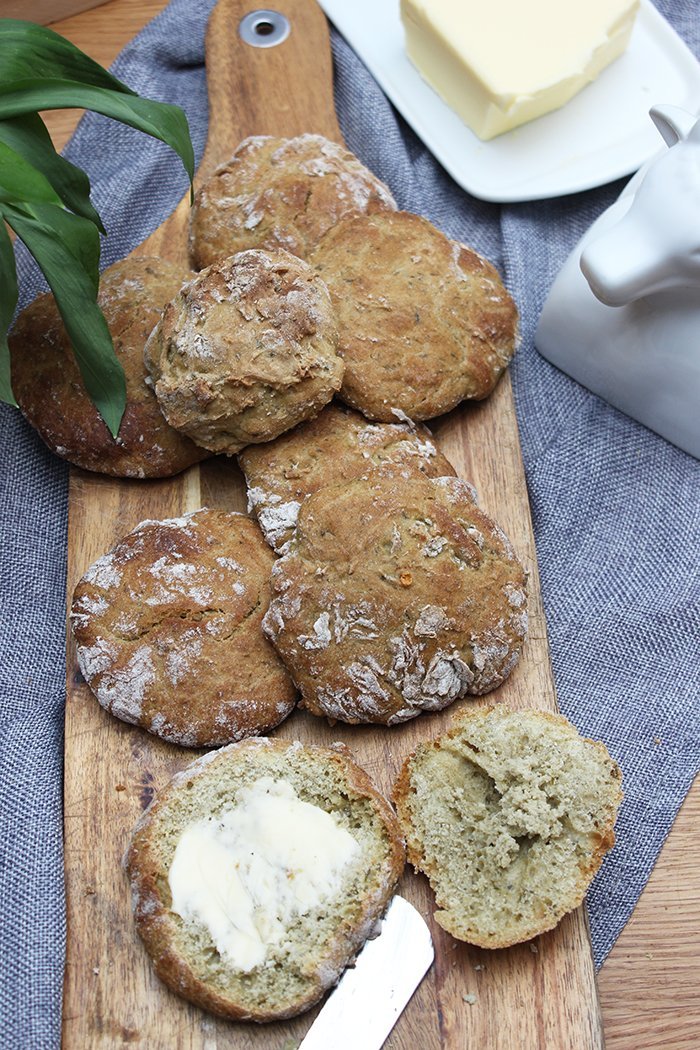
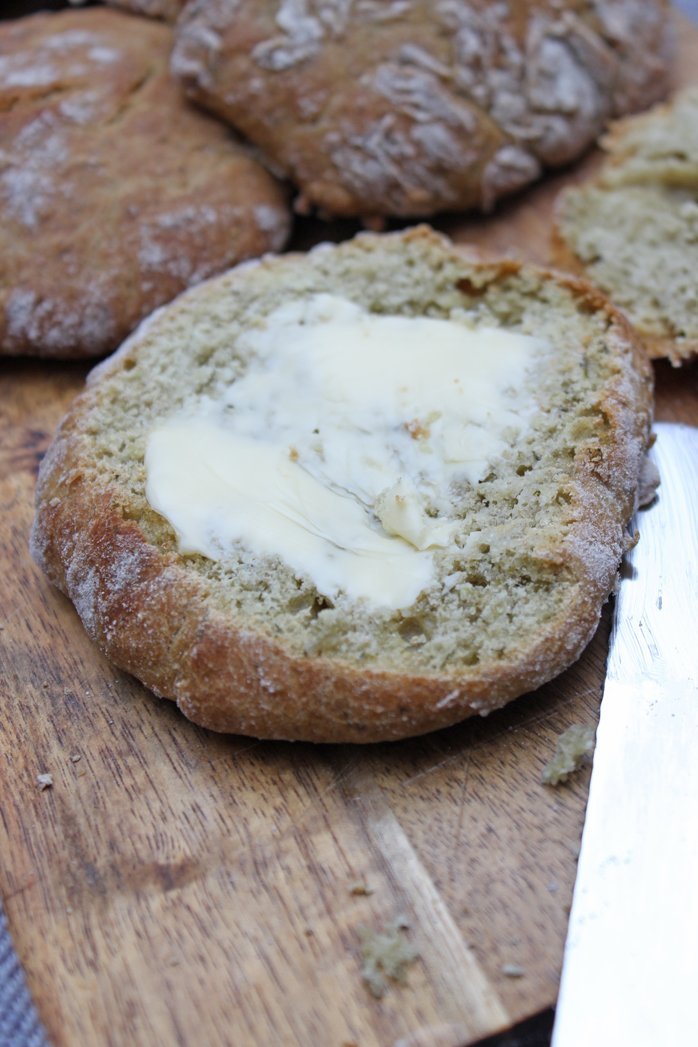
They go perfectly with fresh dips, cheese platters, or grilled food. Try these wild garlic rolls—a recipe you'll love again and again! Serve them warm, spread with butter or cream cheese to enhance the flavor. For something special, try these homemade rolls. Wild garlic ravioli in a delicate Parmesan sauce A real treat for gourmets, these wild garlic rolls go wonderfully with it.
5 FAQs about the wild garlic rolls
Can I bake the rolls faster instead of waiting 24 hours?
The recipe relies on a cold long-term lead In the refrigerator, which gives the rolls their aroma and texture. If you're in a hurry, you can double the amount of yeast and let the dough rise for about 1 to 1.5 hours in a warm place. However, the flavor will then be less complex.
What do I do if my oven doesn't have a "hydro setting"?
Don't worry, the recipe offers a simple solution: Bake the rolls at 200°C top/bottom heat and set up a heat-resistant bowl with water Place them on the bottom of the oven. The resulting steam ensures that the rolls become nice and crispy and rise well.
Can I omit the sourdough extract?
The sourdough extract primarily serves as a flavor carrier (aroma) and improves the baking properties of the rye flour. If you don't have any, you can omit it, but the rolls will then taste somewhat less flavorful. Alternatively, you can add a teaspoon of vinegar or lemon juice for a touch of acidity.
Why is Worcestershire sauce added to the dough?
This is the "secret" of this recipe! The Worcestershire sauce acts as a natural flavor enhancer (umami) and harmonizes perfectly with the aromatic wild garlic and rye flour. It gives the rolls a particularly savory note.
5 baking tips for perfect wild garlic rolls
Finely chopped wild garlicThe finer you chop the wild garlic, the better the aroma will be distributed in the dough. Alternatively, you can purée it with a little water and then mix it into the flour.
Longer fermentation time for better flavorThe 24 hours in the refrigerator result in a better aroma and a nicer crust. If you have less time, let the dough rise at room temperature for at least 2 hours.
Perfect bread roll shapeUse lightly floured hands or a wet spoon to portion the dough so that it doesn't stick and the rolls retain a nice shape.Steam for a crispy crustIf your oven doesn't have a steam setting, place a heat-resistant bowl of hot water on the oven floor. Alternatively, you can spray the rolls with water immediately after putting them in the oven.Preserve freshnessStore the rolls in an airtight container or freeze them after they have cooled. When baking, briefly brush them with water and bake at 180°C for 5–7 minutes.
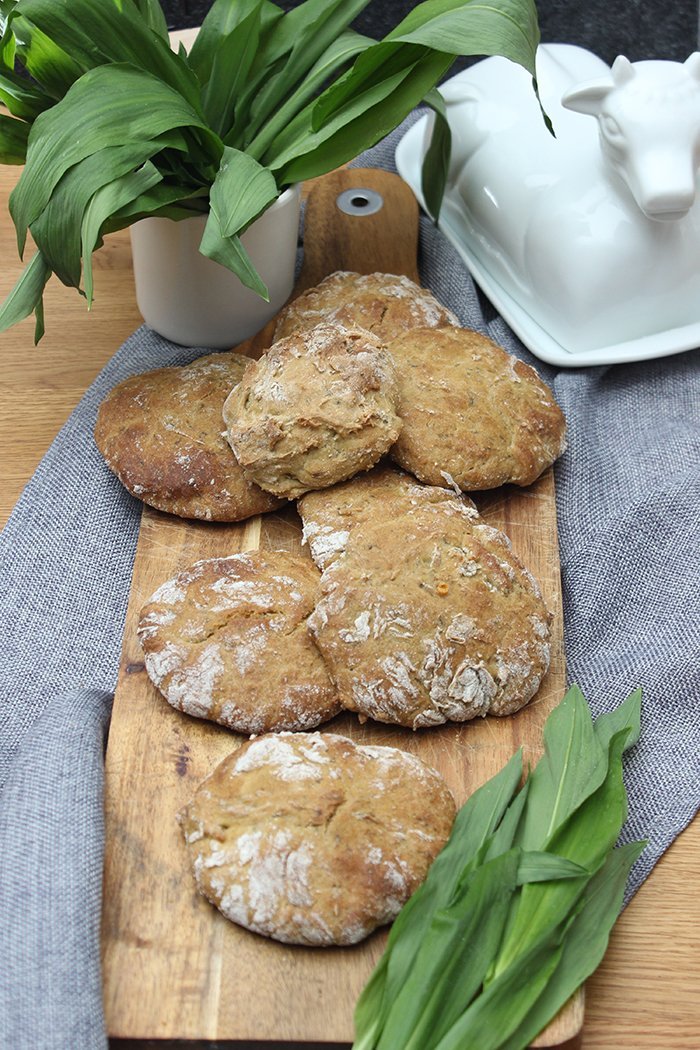
Recipe: Bake your own wild garlic rolls
Ingredients for 12 pieces
- 400 g wheat flour (type 550)
- 100 g rye flour
- 45 g wild garlic leaves, fresh, without stems
- ½ cube of yeast (20 g)
- ½ tsp sugar,
- 360 g lukewarm water
- 1 tsp Worcestershire sauce
- 1 tsp sourdough extract (e.g. from Alnatura)
- 2 tsp salt
Preparation:
- Finely chop the wild garlic, add the rye flour and mix.
- Add flour, yeast, sugar, water, Worcestershire sauce, sourdough extract, and salt. Knead with a stand mixer (dough hook).
- Cover with cling film and let it sit in the refrigerator for 24 hours.
- Preheat oven to 220°C. Line a baking tray with parchment paper.
- Remove the dough from the refrigerator, lightly flour it, divide it into 12 portions using a tablespoon, place them on the prepared baking sheet, and bake for 20 minutes (220°C/425°F using the hydro setting) until crisp. If you don't have a hydro setting, you can bake them at 200°C/390°F using conventional oven settings (top and bottom heat). It's important to place a heat-resistant bowl of water in the oven.
- Let the wild garlic rolls cool on a wire rack and store them in a tightly sealed container until ready to eat.
With their crispy edges, fluffy center, and unique wild garlic aroma, these wild garlic rolls are more than just a side dish – they're a little moment of pleasure every day. Whether for breakfast, as a snack, or as part of a main meal, these wild garlic rolls will bring a breath of fresh air to your table. Try them and let their irresistible flavor enchant you!
Yours, Tina-Maria
| Advertising Affiliate Links |
| This is what I used in my recipe: |
| My hand mixer– Quiet yet very powerful. Superb performance! |
| My scale– with USB cable, very precise and accurate to the gram |
| Baking mat– non-slip and the displayed circles are great |
| My measuring cup– comfortable and secure grip, easy reading is wonderful |
| Cooling rack – very large storage area |
I use affiliate links on my website*. *The Amazon links are affiliate links. If you order through them, I receive a small advertising commission, but the products will not cost you any more!



I'm also obsessed with wild garlic :)!
Best regards!
Oh, that looks delicious! I had no idea you could make something so great with wild garlic, I absolutely have to try it! 🙂
Many warm greetings
Janika
Hi Janika. Yes, you can do a lot with it, and a few more recipes will follow. Best, Tina-Maria
They look absolutely fantastic! I've also stood in front of Barlach's shop, but then decided against it. I really like the combination with the rolls! Warm Sunday greetings from Silvia
Hi Silvia. Then it's time you took him with you while he's still around. *grins* Love, Tina-Maria