


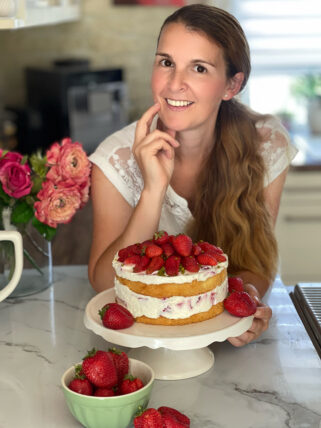
Creative DIY idea for homemade Easter bunnies in 30 minutes!
In just over two weeks, the children will be searching for their nests in the garden. At home, we're busy decorating for Easter, and to go with it, my daughter and I have made cute Easter bunnies. There's a reason for all this, too: I'm involved in... „"Little Easter Blogger Egg"“ Attending the event hosted by Katja from the blog more than flowers.
A few weeks ago, the lovely Katja was looking for bloggers interested in participating in an Easter blogger event. And I'm the first to join and get to present my contribution today. Over the next few days, other bloggers will be posting their Easter-themed contributions on their blogs. Among them is Sandra from Family Magic, Nina from the blog Of Princesses and Other Monsters, the hostess Katja vonmore than flowers And me. Why not take a look there? They're showcasing some great homemade Easter ideas.
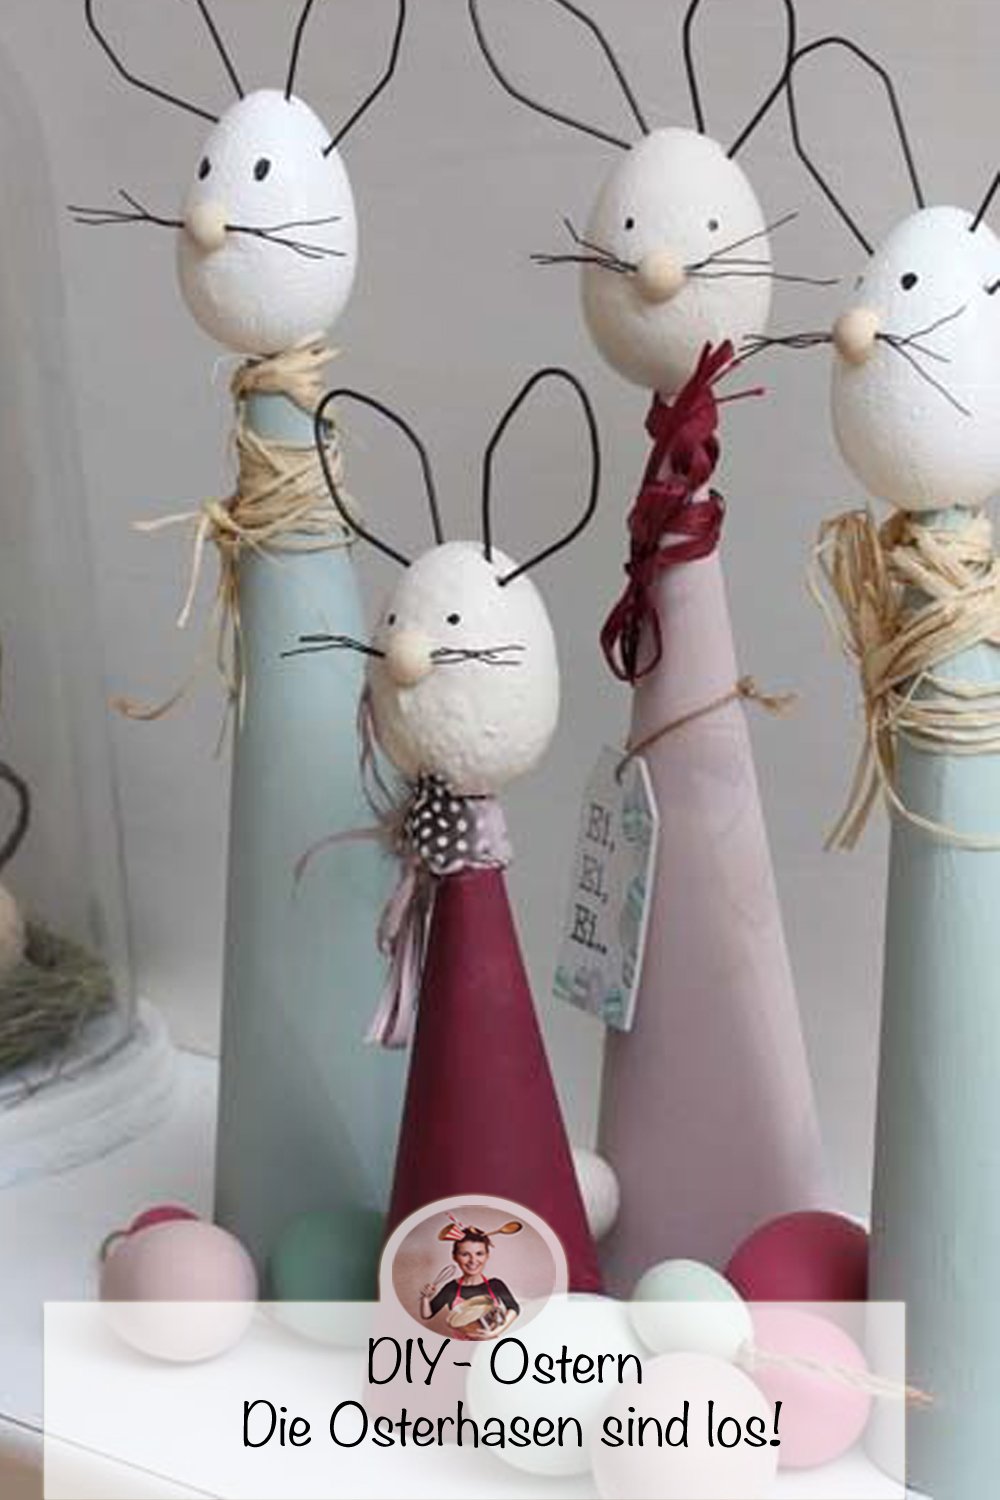

Small Easter Blogger Egg Event – The Easter bunnies are on the loose!
Do you know that feeling when you have so many ideas swirling around in your head that you can hardly decide? That's how I felt recently. Baking? Creative projects? Beauty? It was all there, but nothing really clicked. Until I had THE idea: crafting! And this, my dears, is a first for my blog. Yes, you read that right, I, a mother of three, actually dared to make something and present it to you on my blog.
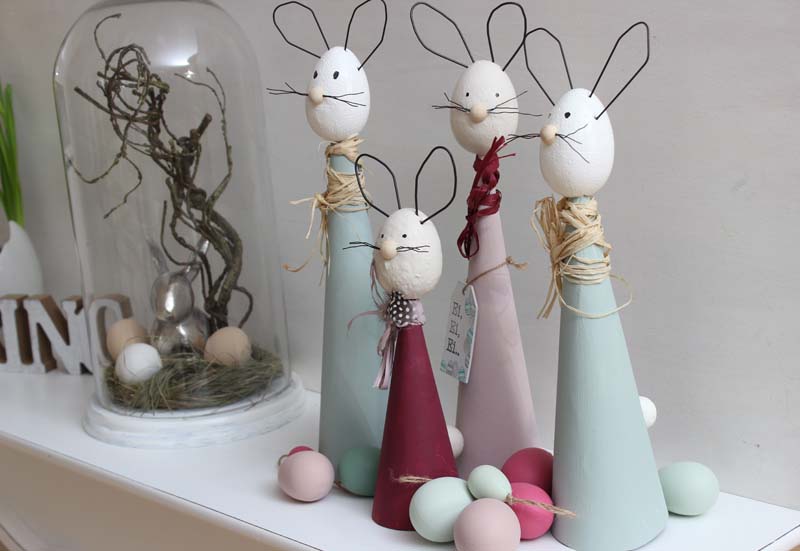
It's almost embarrassing that I didn't do this sooner. After all, we're always crafting at home. My little daughter, in particular, is a real crafting pro. Whether she's working alone or with me, she creates the most amazing things. Like the other day, on a rainy Saturday afternoon. We sat down and made these super cute Easter bunnies. I actually found the template at the Kreativall craft fair in Wiesbaden. And what can I say? I'm so proud of our little bunnies, which are now decorating our sideboard.
I think Easter bunnies are simply part of Easter. Or what do you think? Without the cute little bunnies, Easter just isn't half as much fun, is it?
The rabbits are on the loose!
But enough talk, let's get crafting! In my first DIY blog post, I'll show you how to make a beautiful Easter bunny. And the best part? It's super easy and tons of fun! So, grab your craft supplies and let's get started!

These are the materials you will need:
- 1 cardboard cone approx. 25-30 cm high, untreated *available here*
- 1 Styrofoam egg, 8 cm
- 1 Styrofoam ball for the tuft, 4 cm
- 2 electrical wires for the ears
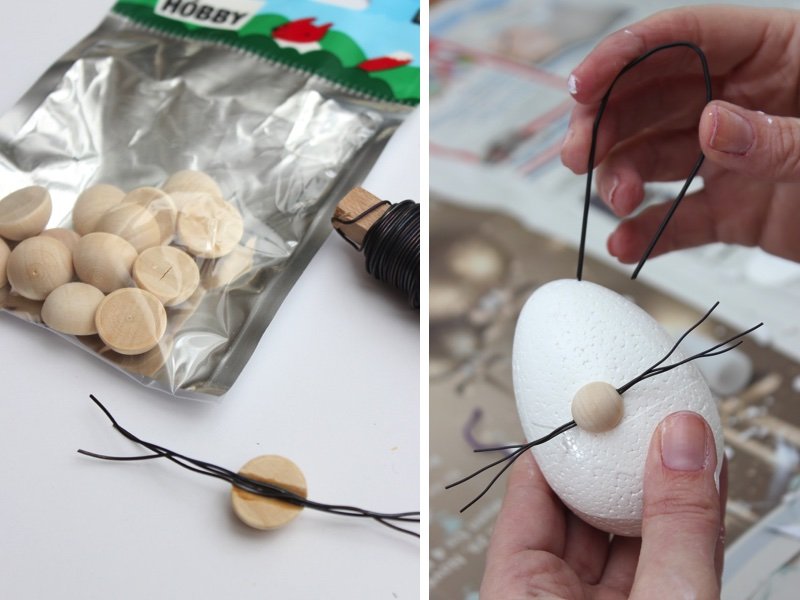
- ½ wooden bead for the nose
- 1 wire for whiskers
- 1 second adhesive
- 1 wire shears
- 1 black waterproof pen
- 1 BAST, color of your choice
- Acrylic paint for painting (white and color of your choice)
Here's how:
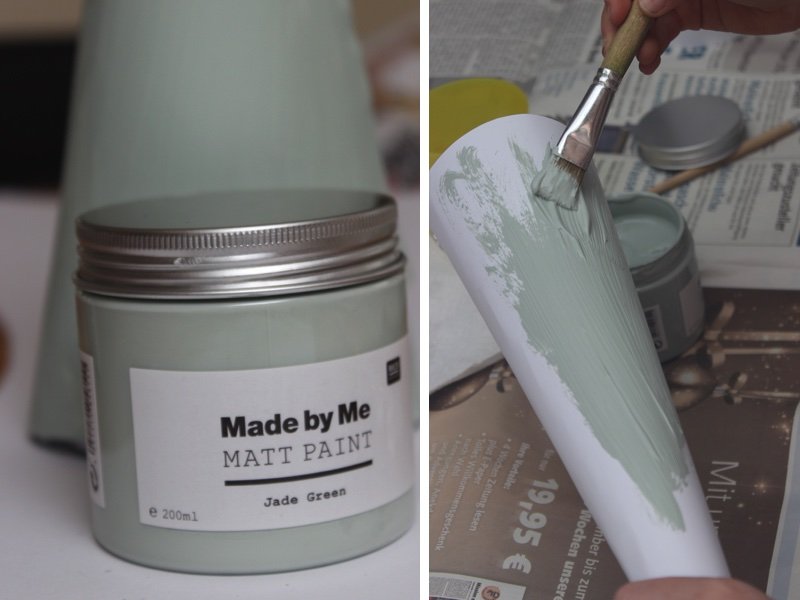
Before you start crafting, make sure you have all the necessary materials ready for your Easter bunnies. These include a cardboard cone, acrylic paint (I used [color name] for our bunny). Jade Green (chosen), a styrofoam egg, a styrofoam ball, a shish kebab skewer, wire for the ears and whiskers, wire cutters, half a wooden bead for the nose, superglue, a waterproof pen, raffia and other tools that will make your work easier.
Step 1: Paint the cardboard cone
First, take the cardboard cone and paint it evenly with acrylic paint. Make sure the paint covers well and no brushstrokes remain visible. If necessary, you can apply a second coat after the first one has dried. Once the cone is completely painted, set it aside and let it dry thoroughly.
Step 2: Paint the polystyrene egg and the polystyrene ball
Now take the polystyrene egg and carefully paint it with white acrylic paint. To make it easier to hold the egg while painting, it's recommended to insert a skewer into the bottom. This way you can hold the egg in the air without touching it directly with your fingers.
Repeat the same process with the polystyrene ball. The skewer can be helpful here as well. Once both pieces are painted, set them aside to dry.

Step 3: Shape the bunny ears
Now take the wire for the ears and cut four equal pieces, each about 18 cm long, using wire cutters. Shape these pieces of wire into two elongated loops so they look like rabbit ears. Press the ends of the wire pieces firmly together to hold their shape.
Step 4: Preparing the whiskers
For the whiskers, cut three pieces of wire, each 9 cm long. These will later serve as beard hairs.
Step 5: Attach the nose
Now take the half of the wooden bead that will serve as the nose. Apply a small amount of superglue to the flat side of the wooden bead and glue the prepared wire pieces for the whiskers to it. Make sure the whiskers are evenly spaced. Then, attach the finished nose to the center of the Styrofoam egg with a little more superglue. Let the glue dry completely so that everything holds securely.
Step 6: Designing the face
Once the nose is firmly in place, you can use a waterproof marker to draw two eyes on the polystyrene egg. Here you can let your creativity run wild; whether you choose round, googly eyes or small lines, you decide how your bunny should look.


Step 7: Attach the ears
Now attach the previously shaped ears. To do this, insert the two wire loops into the top left and right sides of the polystyrene egg. If they don't stay in place well, you can secure them with a little glue.
Step 8: Attach the rabbit head
Now take the polystyrene egg with the face and place it on the tip of the cardboard cone. If it doesn't sit firmly enough, you can use a little glue to secure it.
Step 9: Attach the pom-pom
For the bunny tail, you'll need the painted polystyrene ball. Cut a small piece of wire and insert it into the ball, leaving a short end sticking out. Then, insert the ball into the back of the cardboard cone so it looks like a fluffy pom-pom. If necessary, you can use a little glue for a better hold.
Step 10: The final decoration
Finally, tie a piece of raffia around the rabbit's neck. You can tie it in a small bow or let it hang loosely – depending on which look you prefer.
Complete! Your homemade Easter bunny is now finished! You can use it as decoration, give it as a gift, or simply keep it for yourself. Have fun crafting and Happy Easter!


Easter bunnies are always a hit!
Easter is just around the corner, and what could be better than spreading a springtime atmosphere with homemade decorations? Easter bunnies are an absolute classic, whether as a sweet treat, a thoughtful gift idea, or, as in our case, as creative DIY decorations.
I hope you're now as excited about Easter and crafting as I am! It's simply fun to experiment with different materials and create your own little works of art. Whether brightly colored or subtle in natural tones, there are no limits to your imagination!
Why not try it out for yourself and create your very own Easter bunnies? Perhaps you could even make them with your children, friends, or family – it's twice as much fun together!.
And as mentioned above: Why not check out the other three bloggers who participated in our Little Easter blogging egg Join in! There you'll find even more great inspiration related to Easter.
Have you already made any Easter decorations or do you have a special tradition you look forward to every year? I'm curious to hear your ideas.
*I am using an Amazon affiliate link here.**

She looks absolutely adorable, Tina-Maria, and what a lovely activity to do with and for the child!
Best regards
Hi Tanja, especially for the child. She would have loved to make lots more little baby Easter bunnies. Best, Tina-Maria
It looks really chic and is still manageable for the kids. Let's see if we can find some time this week. Great first DIY project. Have a lovely Sunday. Susanne and family.
Hello. They're easy for children to make. Just don't let them near the superglue! *laughs* I wish you and your family a lovely Sunday too. Best regards, Tina-Maria
These Easter bunnies are very pretty, thank you for the craft instructions!
Hello. Our daughter is also very proud of her. You're welcome 🙂 Best regards, Tina-Maria
Hey, the decoration turned out really great!
I wish you a beautiful Sunday!
Hello. Thank you so much. I hope you have a lovely Sunday too. Best regards, Tina-Maria
That looks absolutely adorable! I didn't even know Katja's Easter event was already starting. She asked me to participate, but unfortunately, I haven't received any further information. What a shame... Best regards, Silvia
Hi Silvia, you can still join in 😉 It's at the very bottom of Katja's announcement. Best regards, Tina-Maria
That turned out great, I love it! Beautiful colors and a lovely decoration overall.
Best regards
Hello. I agree, and the colors are wonderful too. Best regards, Tina-Maria
Hi, I know these bunnies from the Creativa craft fair in Dortmund. They're easy to make and look great. It's also great that you can make them in different sizes.
I also know the bunnies from Creativa. We participated in the workshop… I wanted to make some bunnies at home for the family, but you can't find those cardboard cones anywhere! Where can you get them? Thanks for your help!
Hi, I made my cones myself, but you can find them here: https://amzn.to/2GeXPmY You can also order it. Best regards, Tina-Maria
I also tried making the cones myself. Out of papier-mâché, rabbit wire and cardboard, but somehow I didn't like the result…
Hi Andrea. You can easily make them yourself. There are plenty of tutorials online 😉 Best, Tina-Maria
Absolutely fantastic, relatively easy to make, and it was so much fun! Also easy to do with children… Definitely recommended.
Hello,
The bunnies are so cute! Can someone tell me what size eggs the heads should be? Thanks!
Hi Silke, the eggs are 8 cm long. Best regards, Tina-Maria